Intro
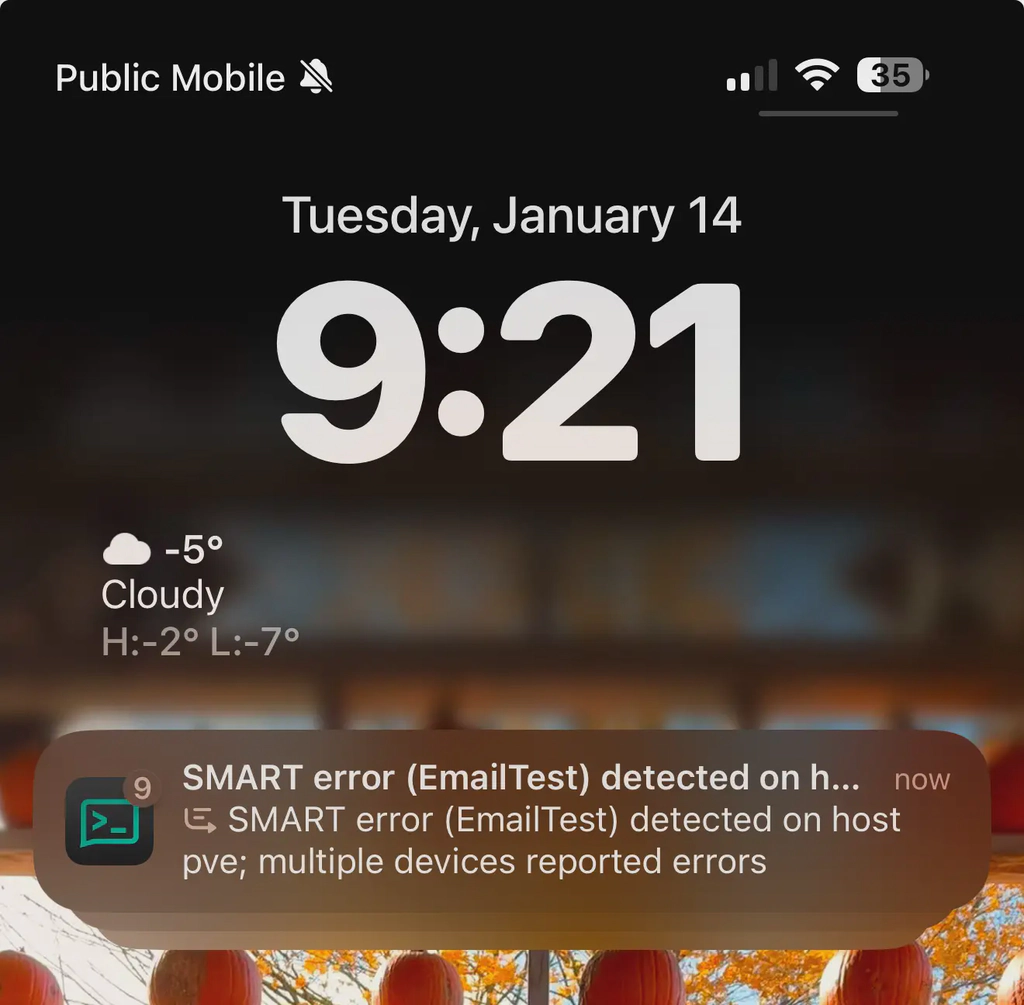
My Synology NAS sends weekly (quick tests) and monthly (extended tests) health reports of its hard drives to my email. I wanted to add this functionality to my Proxmox server to keep an eye on my drives. After some trial and error, I successfully achieved this functionality. Now, I receive these notifications on my phone with the help of ntfy.sh. Here are the steps I took to make it work.
Pre-requisites
For this setup to work, you should have a running instance of ntfy.sh. You can find the installation instructions here.
My compose file looks something like this:
services:
  ntfy:
    image: binwiederhier/ntfy:latest
    container_name: ntfy
    command:
      - serve
    restart: unless-stopped
    ports:
      - 3780:80
      - 25:25
    environment:
      TZ: Canada/Toronto
      NTFY_BASE_URL: https://ntfy.<domain>
      NTFY_UPSTREAM_BASE_URL: https://ntfy.sh
      NTFY_CACHE_FILE: /var/lib/ntfy/cache.db
      NTFY_AUTH_FILE: /var/lib/ntfy/auth.db
      NTFY_AUTH_DEFAULT_ACCESS: deny-all
      NTFY_BEHIND_PROXY: true
      NTFY_ATTACHMENT_CACHE_DIR: /var/lib/ntfy/attachments
      NTFY_ENABLE_LOGIN: true
      NTFY_SMTP_SERVER_LISTEN: :25
      NTFY_SMTP_SERVER_DOMAIN: <domain>
    volumes:
      - lib:/var/lib/ntfy
      - cache:/var/cache/ntfy
      - etc:/etc/ntfy

volumes:
  lib:
    driver: local
  cache:
    driver: local
  etc:
    driver: local
You will need a topic to which you can subscribe and an API token. Make sure to keep them handy, as they will be needed when configuring notifications in Proxmox.
Configuring Postfix
Proxmox can dispatch notifications straight to email. To make use of it, you would be required to use a dedicated email account from a provider like Google, use third party services like smtp2go, or even set up your own mail server.
Luckily, Proxmox comes with Postfix, a mail transfer agent, pre-installed. We can configure Postfix to forward emails to ntfy.sh, where emails will be processed and pushed to your mobile devices. To do this, you need to modify the configuration file /etc/postfix/main.cf.
Locate the line with relayhost =, or if it doesn’t exist, insert it at the end of the file and specify the ntfy.sh host with its SMTP port. It should look something like:
relayhost = <ntfy.sh IP or Hostname>:<SMTP PORT>When the changes are made, you can restart it by issuing the command systemctl restart postfix. Now all emails coming from Proxmox will use ntfy.sh as their server.
Configuring smartd
Proxmox comes with smartmontools pre-installed. This package contains the smartd utility which you’ll use for monitoring and reporting on the health of your installed drives. The configuration file is located at /etc/smartd.conf. You can read about smartd and its directives here.
You can either list your drives one by one or let smartd detect them by using the DEVICESCAN directive. My file looks something like:
DEVICESCAN -H -f -u -p -l error -l selftest -n standby,24,q \
-I 194 \
-I 190 \
-W 5,55,60 \
-i 9 \
-R 5! \
-C 197 \
-U 198 \
-o on -S on -s (S/../../../02|L/../01/./04) \
-m <topic>+<key>@<domain> \
-M test \
-M exec /usr/share/smartmontools/smartd-runner
The most important lines are:
-o on -S on -s (S/../../../02|L/../01/./04) \
-m <topic>+<key>@<domain>
The -o line tells smartd to run short tests every day at 2 am and an extended test on the first day of every month at 4 am. The -m line tells smartd to send notifications to an email. This email address must follow the format: the topic you created in the pre-requisite step + the token @ the domain you assigned to ntfy.sh.
Done!
Proxmox will now send SMART notifications to your ntfy.sh server, which will then forward them to your phone.
Note: Since you’ve configured your ntfy.sh server as your relay server, other notifications, such as those from backup tasks, will also be sent to ntfy.sh and pushed to your phone when configured with the appropriate topic+token@domain.
