Intro
In the search for an open-source Google Analytics alternative, two options stood out Matomo and Plausible. I wanted the tool to be privacy-friendly and that it did not require cookies, avoiding those pesky consent prompts. I did not find a straightforward guide to self-host Plausible with a Google Search Console integration which led me to create this post.
Pre-requisite
Ensure that your domain’s ownership is confirmed in the Google Search Console. To do this, take a look at Google’s guide here.
Google Cloud Console
To enable your Plausible instance to access site data, a client ID and key must be issued by the Google Cloud Console. This is completely free.
- You start by navigating to the cloud console here and clicking “create or select a project”.
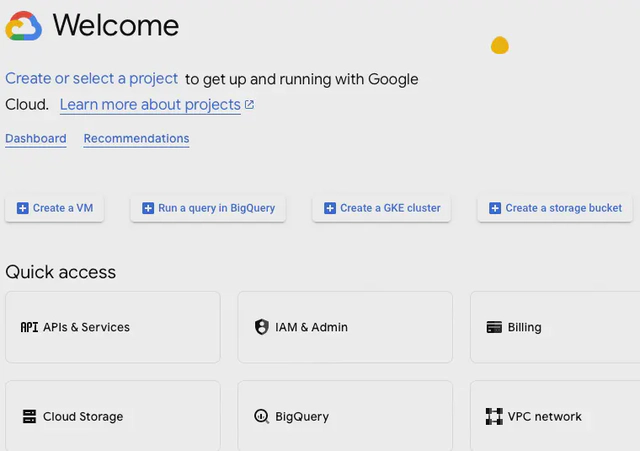
- A pop-up should appear prompting you to select a project. Click “new project” on the top right corner.
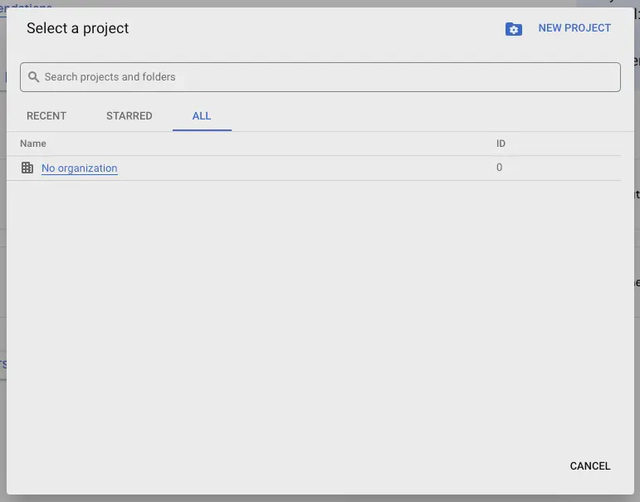
- Enter a suitable project name (like Plausible), leave Location as “No organization”, and click “Create”. After the project is created, a notification will appear allowing you to “Select Project”. Just like this:
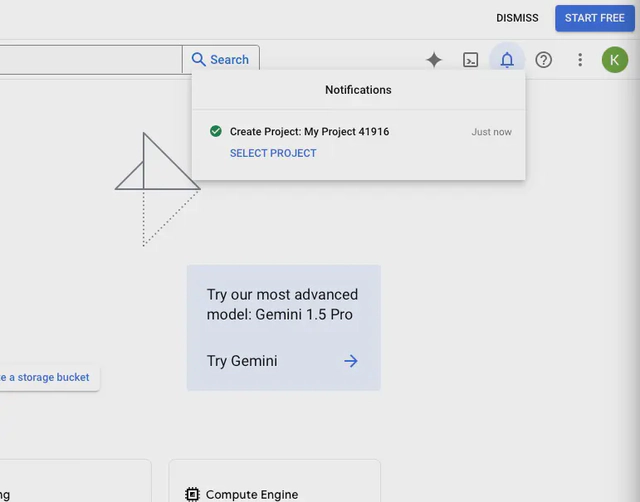
- After clicking “Select Project”, navigate to “APIs & Services” and click on “API Library”. In the API Library, search for “Google Search Console API”, select it, and click enable.
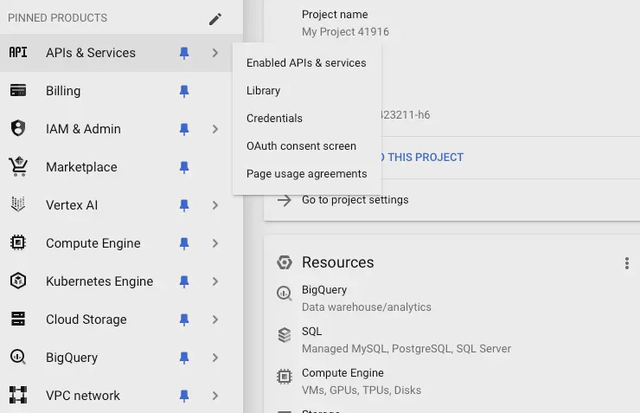
- Once enabled, go back to the menu and select the “OAuth consent screen”. On the OAuth consent screen, select “External” as “User Type” and click “Create”. Give your app a name, enter a support email (preferably your Gmail account), set your app domain, add an authorized domain, add a developer contact, and click save and continue. After this step, it will lead to the Scopes section. Under this section, click “ADD OR REMOVE SCOPES”. A popup will appear and you should select the “Google Search Console API” with read-only capabilities.
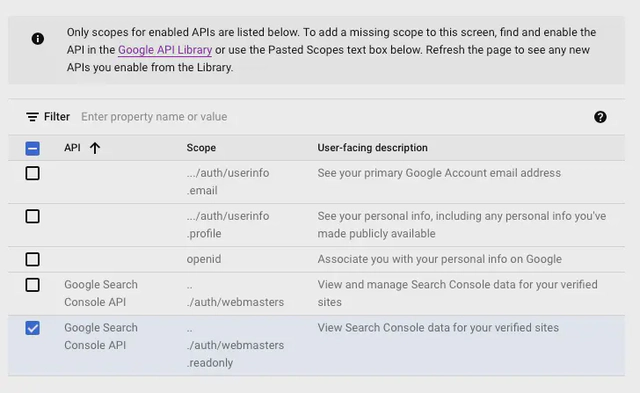
After clicking update, the popup will close. Click on “SAVE AND CONTINUE” and add a test user (preferably your same Gmail account). After clicking “SAVE AND CONTINUE” you can then navigate to the left menu and click on “Credentials”. In the Credentials pane, on the top left click on “CREATE CREDENTIALS” and select “OAuth client ID”. Under Application type, select “Web Application” and give it an appropriate name. Under “Authorized redirect URIs”, make sure to enter “https://<plausible_domain>/auth/google/callback”.
After clicking Create, copy the “Client ID” and “Client Secret” which will be used in the next section.
Plausible Compose File
With the prerequisites complete, you can go ahead and create your Plausible instance. This is my example compose file.
services:
  mail:
    container_name: plausible_mail
    image: bytemark/smtp
    restart: unless-stopped
    environment:
      - MAILNAME=$MAILER_EMAIL
      - RELAY_HOST=$SMTP_HOST_ADDR
      - RELAY_PORT=587
      - RELAY_USERNAME=$SMTP_USER_NAME
      - RELAY_PASSWORD=$SMTP_USER_PWD

  plausible_db:
    container_name: plausible_db
    image: postgres:14-alpine
    restart: unless-stopped
    volumes:
      - db-data:/var/lib/postgresql/data
    environment:
      - POSTGRES_PASSWORD=postgres

  plausible_events_db:
    container_name: plausible_events_db
    image: clickhouse/clickhouse-server:23.3.7.5-alpine
    restart: unless-stopped
    volumes:
      - event-data:/var/lib/clickhouse
      - event-logs:/var/log/clickhouse-server
      -  event-config:/etc/clickhouse-server/config.d
      - event-user-config:/etc/clickhouse-server/users.d
    ulimits:
      nofile:
        soft: 262144
        hard: 262144

  plausible:
    container_name: plausible
    image: plausible/community-edition:latest
    restart: unless-stopped
    command: sh -c "sleep 10 && /entrypoint.sh db createdb && /entrypoint.sh db migrate && /entrypoint.sh run"
    depends_on:
      - plausible_db
      - plausible_events_db
      - mail
    ports:
      - 8480:8000
    environment:
      - BASE_URL=$BASE_URL
      - SECRET_KEY_BASE=$SECRET_KEY_BASE
      - TOTP_VAULT_KEY=$TOTP_VAULT_KEY
      - GOOGLE_CLIENT_ID=$GOOGLE_CLIENT_ID
      - GOOGLE_CLIENT_SECRET=$GOOGLE_CLIENT_SECRET
      - MAILER_EMAIL=$MAILER_EMAIL
      - CRON_ENABLED=true

volumes:
  db-data:
    driver: local
  event-data:
    driver: local
  event-logs:
    driver: local
  event-user-config:
    driver: local
  event-config:
    driver: local
The mail section is only required when you want to send emails for weekly reports or password recovery.
Here is how you populate the other variables:
${BASE_URL}, where plausible will be accessed (like a reverse proxy address)
${SECRET_KEY_BASE}, generated using ‘openssl rand -base64 48’
${TOTP_VAULT_KEY}, generated using ‘openssl rand -base64 32’
${GOOGLE_CLIENT_ID}, the ID that we got from the previous step
${GOOGLE_CLIENT_SECRET}, the secret that we got from the previous step
Plausible config
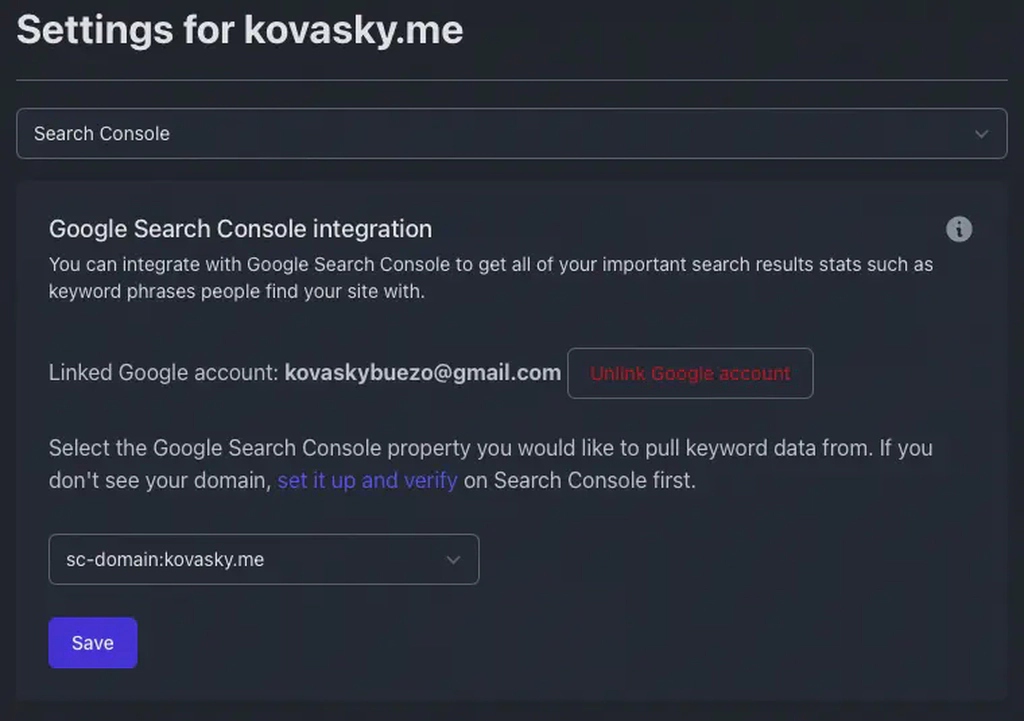
After deploying Plausible, log in to configure a domain. Navigate to the settings page for that domain and link it with your Google Account specified as a Test User in the OAuth setup.
Done!
Once set up with these steps and configs, Plausible should be integrated with Google’s Search Console, providing you with a privacy-focused analytics tool.
