Intro
I wanted to easily synchronize the time between my VMs and decided to set up an ntp server to accomplish this. Since a USB GPS device is relatively inexpensive, I thought it would be a great addition to the project.
For the following examples, I used aptitude and vim.
Prerequisite Packages
Run the following command to ensure we have the necessary packages:
sudo apt-get update && sudo apt-get install gpsd gpsd-clients chronyCheck /dev for GPS
Once the gps is connected to the pc, we need to figure out the assigned device. This can be any of /dev/ttyUSB0, /dev/ttyACM0 or /dev/ttyAMA0.
If unsure of which device it is, we can always run:
cat /dev/$deviceWe should be able to see a stream with coordinates and strings like “GPGGA” and “GPGSA”.
Modify gpsd.conf and start the service
After getting the correct device, we will need to modify the configuration file located at “/etc/default/gpsd”. It should contain the following:
START_DAEMON="true"
USBAUTO="true"
DEVICES="/dev/ttyACM0"
GPSD_OPTIONS="-n"
After this we should enable and start the service:
sudo systemctl enable gpsd && sudo systemctl start gpsdModify chrony.conf and start the service
The configuration file will either be in “/etc/chrony.conf” or “/etc/chrony/chrony.conf”
driftfile /var/lib/chrony/chrony/drift

allow

refclock SHM 0 refid GPS precision 1e-1 offset 0.9999 delay 0.2
refclock SHM 1 refid PPS precision 1e-7
After this we should enable and start the service:
sudo systemctl enable chronyd && sudo systemctl start chronydChecking chrony status
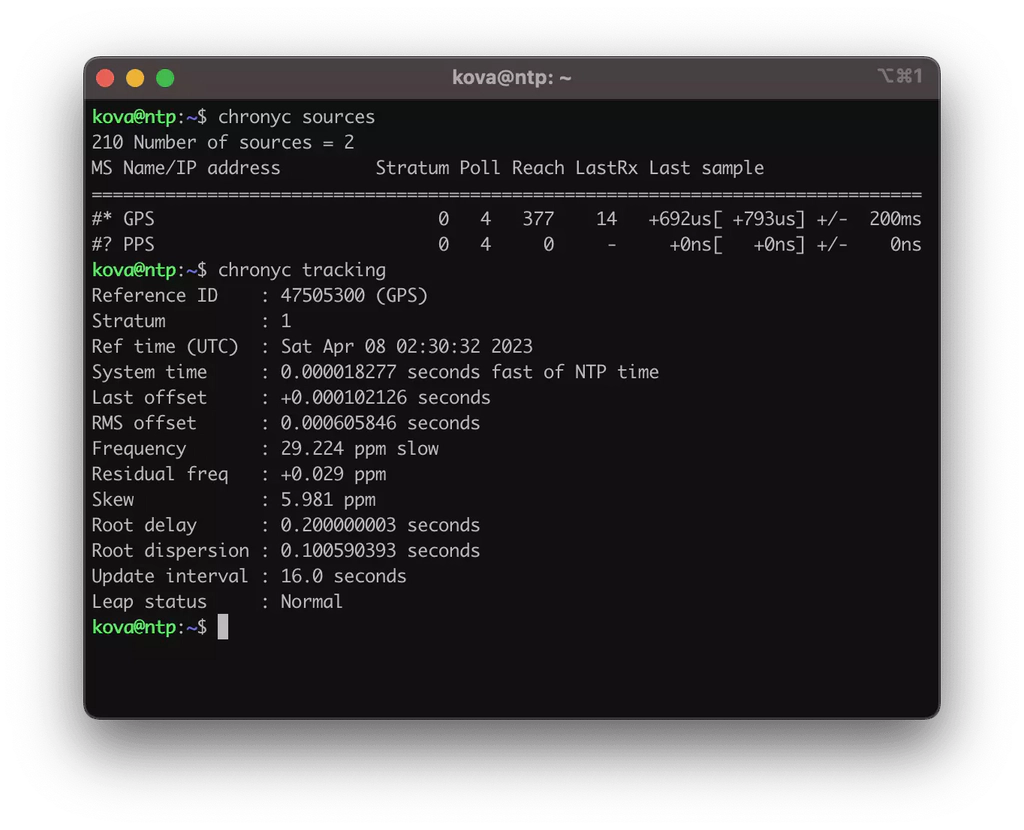
Theres a few things we can check to see if everything was set up correctly. To see if chrony takes in the gps data, we can run the following:
chronyc sourcesAnd to see if it is working as intended, we can run:
chronyc trackingThe output should look similar to the image at the top of this post.
Done!
After following these steps, we should have a working ntp server and all that is left is to point any client to the ip of the host running chrony.
